
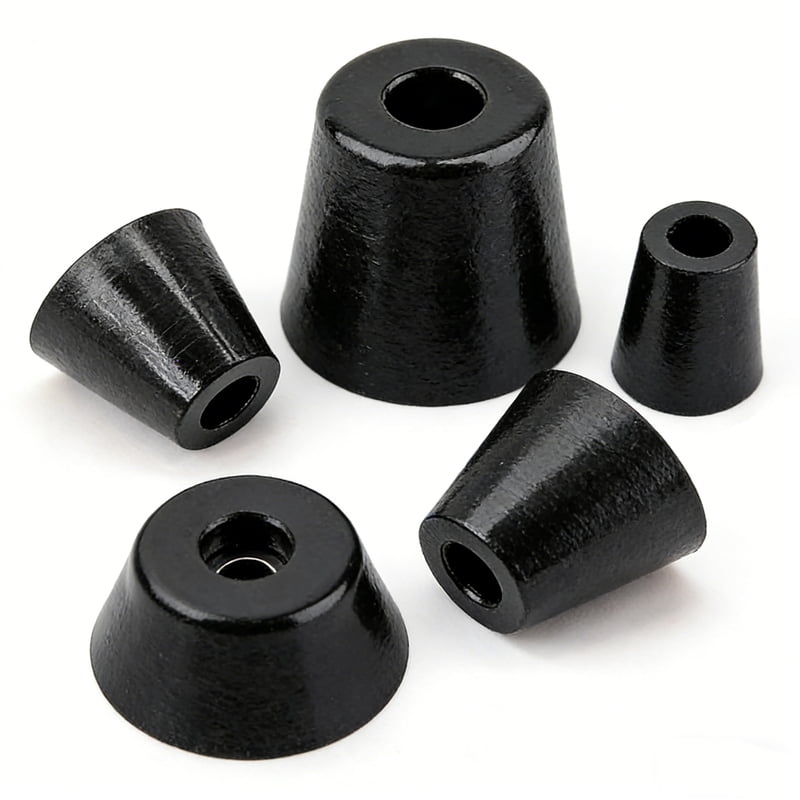
You bought expensive anti vibration mounts1, but your equipment still vibrates. Worse yet, the vibration seems to get stronger over time. This happens because most people pick mounts based on material quality instead of frequency matching2.
Anti vibration mounts are frequency matching2 devices that isolate vibrations by ensuring your system's natural frequency3 stays well below the equipment's excitation frequency. The key is maintaining consistent dynamic stiffness4 over time, not just having high-quality rubber materials.

Most engineers approach anti vibration mount selection backwards. They focus on material properties like Shore A hardness5 or tensile strength6. But vibration isolation7 depends entirely on frequency relationships. I learned this the hard way after watching perfectly designed systems fail after three months of operation.
Why Do Anti Vibration Mounts Stop Working After a Few Months?
You test samples and everything works perfectly. Small batch production runs smoothly. Then three months later, vibrations actually get worse than before you installed the mounts.
This happens because rubber dynamic stiffness8s](https://arxiv.org/html/2503.17988v1)%%%FOOTNOTE_REF_4%%% drifts over time. As the rubber hardens from cyclic loading, the system's natural frequency3 shifts upward into the resonance zone, amplifying vibrations instead of isolating them.

I see this pattern repeatedly in our factory. Engineers design systems based on initial static hardness measurements. But anti vibration mounts1 operate under dynamic loading with frequency, temperature, and stress cycles. The rubber gradually stiffens. Its modulus increases. The natural frequency3 moves up. Your system drops from the isolation zone back into the resonance zone.
The result is devastating. You think you are reducing vibration, but you are actually amplifying it. This explains why your "perfect" prototype becomes a vibrating nightmare in production. You tested new products, but you are using aged systems.
Here is what really happens during that three-month failure cycle:
| Time Period | Dynamic Stiffness | Natural Frequency | Vibration Level |
|---|---|---|---|
| Week 1 | Design value | Below excitation | Reduced ✓ |
| Month 1 | 10% increase | Still safe | Stable ✓ |
| Month 3 | 30% increase | Near excitation | Amplified ✗ |
| Month 6 | 50% increase | Above excitation | Severe ✗ |
The engineering teams I work with often miss this because they only validate initial performance. They never check long-term dynamic stability. This is why we now require 100,000 cycle testing before approving any anti vibration mount design.
How Do You Select Anti Vibration Mounts Using Frequency Matching?
Stop using hardness-based selection. Start with frequency calculations. You need three critical data points before choosing any anti vibration mount.
Calculate your target natural frequency3 using this formula: Target frequency = Equipment excitation frequency × 0.6 or lower. Then reverse-engineer the required dynamic stiffness4 based on your equipment weight and mounting configuration.

Most suppliers give you Shore A hardness5 and tensile strength6. This tells you nothing about vibration performance. You need dynamic stiffness4 curves instead. Reliable suppliers provide dynamic stiffness4 versus frequency curves, dynamic stiffness4 versus temperature curves, and dynamic stiffness4 versus time degradation data.
I always request these specific performance curves from our rubber compounding team:
Dynamic Performance Requirements:
- Dynamic stiffness variation < 10% over 100,000 cycles
- Temperature coefficient < 5% per 10°C change
- Frequency independence from 10-500 Hz operating range
- Modulus stability over 3-year service life
The math works like this. If your equipment vibrates at 50 Hz, your system natural frequency3 must stay below 30 Hz. For a 100 kg machine with four mounting points, each mount carries 25 kg. Using the natural frequency3 formula, you can calculate exactly what spring rate you need. Then you design the rubber geometry and compound to deliver that spring rate consistently.
This approach eliminates guesswork. You are not buying rubber parts. You are buying a frequency control system. Every mount becomes a precision component with defined dynamic characteristics.
What Makes Some Anti Vibration Mount Materials Better Than Others?
Material selection for anti vibration mounts1 is completely different from general rubber applications. You are not looking for the most durable material. You need the most stable material.
The best anti vibration mount materials maintain consistent modulus over time and temperature cycles. Natural rubber offers good initial performance but poor stability. Silicone provides temperature resistance but low damping. Custom blended compounds with controlled fillers deliver the best long-term stability.

I work with our materials engineering team to develop custom formulations for each application. Standard rubber compounds rarely work well for anti vibration mounts1. Here is what we typically see with different materials:
Natural Rubber (NR): Starts soft with good damping properties. But modulus drifts significantly under cyclic loading. After six months, the stiffness can increase 40-60%. This pushes the natural frequency3 into dangerous territory.
Nitrile Rubber (NBR): Excellent oil resistance but poor dynamic performance. The material exhibits high hysteresis losses, which means inconsistent spring behavior. Temperature sensitivity also causes unpredictable frequency shifts.
Silicone Rubber: Outstanding temperature stability and chemical resistance. However, silicone has inherently low damping characteristics. This can create resonance problems at specific frequencies. The material also tends to be expensive for large mount applications.
Custom Blended Compounds: We typically use controlled filler systems with base polymers selected for modulus stability9. Carbon black loading, silica content, and crosslinking density are optimized for consistent dynamic performance rather than maximum strength.
The key insight is that anti vibration mount performance depends more on formulation consistency than raw material properties. A well-controlled natural rubber compound often outperforms premium silicone in real applications. This is why we maintain tight process controls on mixing, curing, and quality verification for every batch.
Why Does Mount Structure Design Matter More Than Material Choice?
The same rubber compound performs completely differently depending on mount geometry. Structure design controls how forces transfer through the rubber and determines long-term stability.
Shear-type anti vibration mounts1 provide better frequency stability than compression-type designs10. Shear loading distributes stress more evenly through the rubber, reducing localized aging and maintaining consistent dynamic properties over time.

Most engineers focus entirely on material selection and ignore structural design. This is backwards. The mount geometry determines how the rubber behaves under dynamic loading. Poor structural design makes even the best materials fail quickly.
I always recommend shear-dominant designs for several technical reasons. Shear loading creates more uniform stress distribution through the rubber volume. Compression loading concentrates stress at contact surfaces, accelerating local aging. Shear mounts also provide better damping characteristics across frequency ranges.
Critical Design Elements:
- Load Distribution: Shear mounts spread forces across larger rubber volumes
- Stress Concentration: Compression designs create hot spots that age faster
- Frequency Response: Shear geometry provides flatter dynamic stiffness4 curves
- Overload Protection: Built-in limiters prevent damage during installation or transport
The bonding interface11 between rubber and metal also controls long-term performance. We use controlled surface preparation with sandblasting followed by primer application. Poor bonding creates interface slip, which changes the effective spring rate and introduces unwanted damping.
Metal insert design affects stress distribution too. Sharp corners create stress concentrations. Gradual transitions and generous radii distribute loads more evenly. The metal hardness should match the application loads. Too soft and the insert deforms. Too hard and it creates stress concentrations in the rubber.
Process control during manufacturing determines whether you get consistent performance or random variations. Curing temperature and time profiles must be tightly controlled. Rubber mixing uniformity directly affects dynamic properties. Even small variations in crosslink density create different frequency responses between individual mounts.
How Do You Ensure Anti Vibration Mounts Work Reliably for Years?
Long-term reliability requires process control during manufacturing, not just good design. The difference between mounts that work for three years versus three months comes down to production consistency.
Reliable anti vibration mounts1 require controlled vulcanization curves12, uniform rubber mixing, and proper metal-rubber bonding processes. Each production batch must deliver identical dynamic stiffness4 properties, or your system frequency will drift unpredictably.

I spend significant time monitoring our production processes because small variations create big performance differences. Temperature control during vulcanization affects crosslink density. Time variations change the rubber modulus. Mixing uniformity determines how consistently each mount performs.
Our quality control13 focuses on three critical areas. First, vulcanization temperature and time curves must follow precise profiles. We monitor actual rubber temperature, not just mold temperature. Second, rubber mixing uniformity gets verified through dispersion analysis. Uneven mixing creates mounts with different dynamic properties. Third, bonding interface11 preparation follows strict protocols including surface treatment and primer application.
Key Process Controls:
- Vulcanization Monitoring: Real-time temperature curves for each mold cavity
- Mixing Verification: Dispersion analysis to confirm uniform compound distribution
- Bonding Quality: Pull-test validation of metal-rubber interface strength
- Batch Consistency: Dynamic stiffness testing on statistical samples from each production run
The testing protocol validates performance before shipping. We measure dynamic stiffness4 at operating frequencies, not just static compression. Temperature cycling confirms thermal stability. Accelerated aging tests predict long-term modulus drift. Each batch gets certified for consistent dynamic properties.
Documentation packages include dynamic stiffness4 curves, temperature coefficient14s, and predicted aging characteristics. This gives engineers the data they need for system frequency calculations. Without this information, mount selection becomes guesswork instead of engineering.
Conclusion
Anti vibration mounts work by controlling system frequency, not just absorbing energy. Success requires frequency matching2, material stability, proper structure design, and consistent manufacturing processes.
Explore this resource to understand how to effectively choose anti vibration mounts for optimal performance. ↩
Learn about the importance of frequency matching in enhancing the effectiveness of vibration isolation systems. ↩
This link provides insights on calculating natural frequency for better vibration isolation solutions. ↩
Discover the role of dynamic stiffness in ensuring long-term performance of anti vibration mounts. ↩
Learn about Shore A hardness and its relevance in selecting rubber materials for vibration mounts. ↩
Discover the impact of tensile strength on the performance of anti vibration mounts. ↩
Explore the principles of vibration isolation to enhance your understanding of effective solutions. ↩
Understand the factors affecting rubber dynamic stiffness and its implications for vibration control. ↩
Learn about the role of modulus stability in maintaining effective vibration isolation over time. ↩
Understand the limitations of compression-type designs in vibration isolation applications. ↩
Understand the importance of bonding interface in ensuring the effectiveness of anti vibration mounts. ↩
Learn about vulcanization curves and their critical role in ensuring consistent rubber performance. ↩
Explore best practices for quality control to ensure reliable performance of rubber products. ↩
Understand the significance of temperature coefficient in evaluating rubber materials for vibration mounts. ↩