
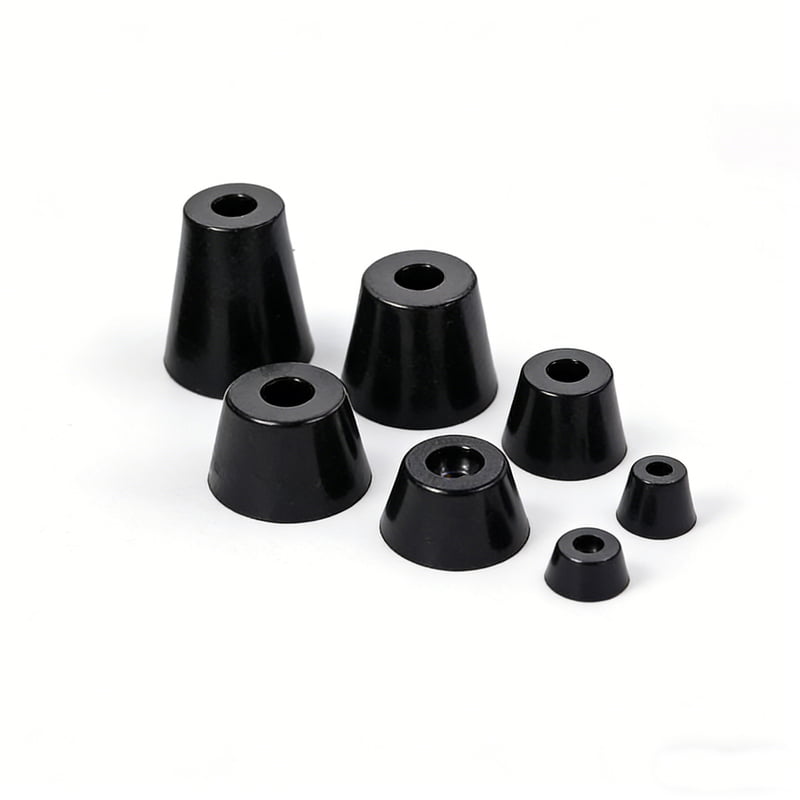
Vibration isolating mounts1 seem simple, but choosing the wrong type can destroy your equipment and waste thousands of dollars.
Vibration isolating mounts1 must match your equipment's specific frequency and load requirements. Without proper matching, these mounts fail to isolate vibration effectively and may even cause equipment damage through resonance amplification2.

I learned this lesson the hard way when working with industrial clients. Poor mount selection creates more problems than it solves, leading to equipment failures and costly downtime.
Why Do Most Vibration Isolation Projects Fail?
Most engineers think any rubber mount will work. This assumption costs companies money every day.
The primary reason vibration isolation fails is frequency mismatch3. When mount natural frequency equals equipment operating frequency4, resonance occurs, amplifying vibration instead of reducing it.

I once worked with a client who installed compression mounts under a large compressor. They chose generic mounts without checking the compressor's operating frequency. Within weeks, the vibration actually increased. The mounts were amplifying the 30 Hz compressor frequency because their natural frequency was also around 30 Hz.
This created a resonance condition that made everything worse. The equipment started showing premature wear on internal components. Production efficiency dropped because operators avoided running the compressor at full capacity. Maintenance costs skyrocketed as bearings and seals failed earlier than expected.
The root cause was simple but critical. Vibration isolating mounts1 work by having a natural frequency much lower than the equipment's operating frequency. When these frequencies match or come close, physics works against you. The mount becomes a spring that bounces at exactly the wrong rate.
Here's what happens during resonance: The equipment pushes down on the mount at its operating frequency. The mount pushes back up at its natural frequency. When these match, the forces add together instead of canceling out. Your mount becomes a vibration amplifier instead of an isolator.
How Do You Calculate the Right Load Capacity?
Load capacity determines whether your mount will compress too much or too little under equipment weight.
Proper load capacity5 ensures mounts compress to their designed working height, typically 25-50% of total deflection range. Incorrect loading causes poor isolation performance and premature mount failure6.

Most people think bigger is always better when choosing mount capacity. This thinking leads to overloaded or underloaded mounts, both of which perform poorly.
Overloaded mounts compress beyond their effective range. They bottom out under equipment weight, becoming rigid connections that transmit all vibration. I've seen 10-ton equipment sitting on mounts rated for 2 tons each. These mounts were completely compressed, offering zero isolation.
Underloaded mounts don't compress enough to reach their working range. They remain too stiff, failing to provide adequate isolation. A 500-pound machine on mounts rated for 5 tons each won't get proper vibration control7.
The calculation process starts with total equipment weight. Divide this by the number of mounting points8 to get load per mount. Then consider dynamic factors9 like uneven weight distribution and operational forces.
For rotating equipment, add 20-30% to static load calculations. Pumps, compressors, and motors create additional forces during operation. These dynamic loads affect mount performance and must be included in capacity calculations.
Weight distribution rarely equals perfect balance. Engines have heavy blocks on one end. Pumps concentrate weight around the motor. Map your equipment's center of gravity and adjust individual mount capacities accordingly.
Here's a practical example: A 2000-pound pump with four mounting points8 doesn't need four 500-pound mounts. The motor end might need 700-pound capacity while the pump end needs 300-pound capacity. This approach ensures each mount works in its optimal range.
What Materials Work Best for Different Applications?
Material selection affects temperature resistance, chemical compatibility, and isolation performance across frequency ranges.
Natural rubber provides excellent low-frequency isolation but degrades in oil and high temperatures. EPDM10 offers better environmental resistance while maintaining good vibration control7 for most industrial applications.

I've tested dozens of materials in real-world conditions. Each material has strengths and weaknesses that matter for specific applications.
Natural rubber excels at vibration isolation because of its high internal damping. It absorbs energy effectively across a wide frequency range. However, natural rubber11 fails quickly when exposed to oils, fuels, or temperatures above 180°F. I've seen natural rubber11 mounts in engine applications turn to mush within months.
EPDM10 (ethylene propylene diene monomer) balances isolation performance with environmental resistance. It handles temperatures from -40°F to 250°F without degradation. Chemical resistance covers most industrial fluids except petroleum products. EPDM10 maintains consistent properties over years of service.
Nitrile rubber (NBR)12 works best around oil and fuel. It resists petroleum products that destroy other materials. However, nitrile has lower damping than natural rubber11, making it less effective for vibration isolation. Use nitrile when chemical resistance matters more than isolation performance.
Silicone13 handles extreme temperatures from -100°F to 400°F. It maintains flexibility in conditions that make other materials brittle or soft. Silicone13 costs more but pays off in applications with wide temperature swings or high-heat environments.
Neoprene14 offers moderate performance across multiple properties. It provides decent vibration isolation with reasonable chemical and temperature resistance. Neoprene14 works well for general-purpose applications where extreme performance isn't required.
Material hardness affects isolation frequency. Softer compounds provide better low-frequency isolation but may not support heavy loads. Harder compounds support more weight but transmit higher frequencies. Match hardness to your specific frequency and load requirements.
| Material | Temperature Range | Oil Resistance | Vibration Isolation | Cost |
|---|---|---|---|---|
| Natural Rubber | -40°F to 180°F | Poor | Excellent | Low |
| EPDM10 | -40°F to 250°F | Fair | Good | Medium |
| Nitrile (NBR) | -30°F to 220°F | Excellent | Fair | Medium |
| Silicone13 | -100°F to 400°F | Good | Good | High |
| Neoprene14 | -40°F to 200°F | Good | Good | Medium |
How Do You Test Mount Performance Before Installation?
Testing prevents costly mistakes by verifying mount performance matches calculated requirements before equipment installation.
Effective testing includes static load verification15, frequency response measurement16, and dynamic load simulation17. These tests confirm mount selection accuracy and identify potential problems before they affect equipment operation.

I always recommend testing critical installations before final equipment mounting. Simple tests catch problems that cost thousands to fix later.
Static load testing verifies mount compression under equipment weight. Place the mount under design load and measure deflection. Compare actual deflection to specification sheets. Significant differences indicate wrong mount selection or defective products.
Use a calibrated scale and precision measuring tools. Load the mount gradually to design weight, allowing time for compression to stabilize. Rubber materials exhibit some creep, requiring several minutes to reach final deflection. Record measurements at 1, 5, and 15 minutes to capture this behavior.
Frequency response testing identifies the mount's natural frequency and damping characteristics. This test requires vibration equipment but provides critical performance data. Mount natural frequency must be well below equipment operating frequency4 for effective isolation.
Set up a vibration shaker with the mount and a representative mass. Sweep frequency from 1 Hz to 100 Hz while measuring transmissibility. The peak transmissibility occurs at natural frequency. Effective isolation requires natural frequency at least 3 times lower than operating frequency.
Dynamic load simulation tests mount performance under operational conditions. Apply varying loads that simulate equipment startup, shutdown, and normal operation. Monitor mount behavior for signs of bottoming out, excessive deflection, or instability.
Temperature cycling tests verify mount performance across expected operating temperatures. Heat and cool mounts through design temperature range while monitoring properties. Some materials become significantly stiffer or softer with temperature changes.
Document all test results for future reference. Include photos of mount condition before and after testing. This documentation helps troubleshoot problems and plan maintenance schedules.
Field testing validates laboratory results under actual operating conditions. Install temporary vibration sensors18 on equipment and surrounding structures. Compare vibration levels with and without mounts to quantify isolation effectiveness.
Conclusion
Proper vibration isolating mount selection requires matching frequency, load capacity5, and materials to specific equipment requirements. Testing prevents costly installation mistakes and ensures long-term performance success.
Understanding vibration isolating mounts is crucial for effective equipment protection and performance. ↩
Explore resonance amplification to understand its impact on equipment performance. ↩
Learn about frequency mismatch to avoid costly mistakes in vibration isolation projects. ↩
Understanding operating frequency is vital for selecting the right vibration isolators. ↩
Calculating load capacity is essential for ensuring proper mount performance and longevity. ↩
Identifying causes of premature mount failure can help prevent costly equipment issues. ↩
Explore best practices for vibration control to enhance equipment performance and longevity. ↩
Determining the right number of mounting points is crucial for effective load distribution. ↩
Understanding dynamic factors helps in accurate load capacity calculations for vibration mounts. ↩
Learn about EPDM's advantages for vibration isolation in various industrial applications. ↩
Discover the benefits and limitations of natural rubber for effective vibration isolation. ↩
Explore Nitrile rubber's properties to determine its suitability for specific applications. ↩
Silicone offers unique advantages in extreme conditions; learn when to use it. ↩
Understand Neoprene's performance characteristics for general-purpose applications. ↩
Static load verification is key to ensuring mount performance; learn the process. ↩
Frequency response measurement provides critical data for effective vibration isolation. ↩
Dynamic load simulation tests mount performance under real operational conditions. ↩
Vibration sensors provide valuable data for assessing mount effectiveness in real conditions. ↩